Prior to September 2011, I didn’t truly understand the importance of having a structured system when setting up my own private practice whilst still working in pro sport. It was only when I got my dream job at Munster Rugby Union and was unsuccessful in helping two high profile players (and my childhood heroes) return from career ending injuries that I knew I needed to improve further if I was to be known myself as that ‘go-to’ therapist who could handle even the most complex of injuries.
Since then, I’ve left no stone unturned in developing, testing and refining my own structured return to play system.
You may be getting good results with some patients, but if approach is not structured systematically and patient’s are not properly progressed and regressed based on the specific outcomes there want to achieve you’ll continue to experience;
- Some patients will feel good initially but the pain will return again, hours, days or weeks later when they go back to higher level ‘real world’ activities
- Your patient’s response to your hands on treatment will be far less effective in each successive session as the ‘novel stimulus’ becomes less novel
- You may become frustrated and even question if your on the right track with this patient
- You will doubt your own decision making if this person is truly ready to progress to the next progression or are you going to undo the weeks of hard work by allowing them to go back to, running, for example.
Most importantly, you’ll never be truly able to make the meaningful impact that will change people’s lives with the more complex cases that may not have textbook presentations, have more than one symptom going on and may have failed traditional approaches.
After doing this many times the “wrong” way, in my earlier years, relying too much on my hands on treatment abilities in complete transparency, I now use what I’ve learned to guide therapists through the eleven steps needed for the perfect return to play system for both sporting and private practice patients with both acute and chronic conditions.
“THIS STRUCTURED SYSTEM LITERALLY CHANGED MY LIFE AND IS LARGELY RESPONSIBLE FOR MY SUCCESS. WHEN IMPLEMENTED CORRECTLY, THE RESULT IS A THERAPIST THAT IS IN DEMAND, WITH CONSISTENT AND PREDICTABLE RESULTS, EVEN WITH COMPLEX PATIENTS THAT HAVE FAILED PREVIOUS APPROACHES.”
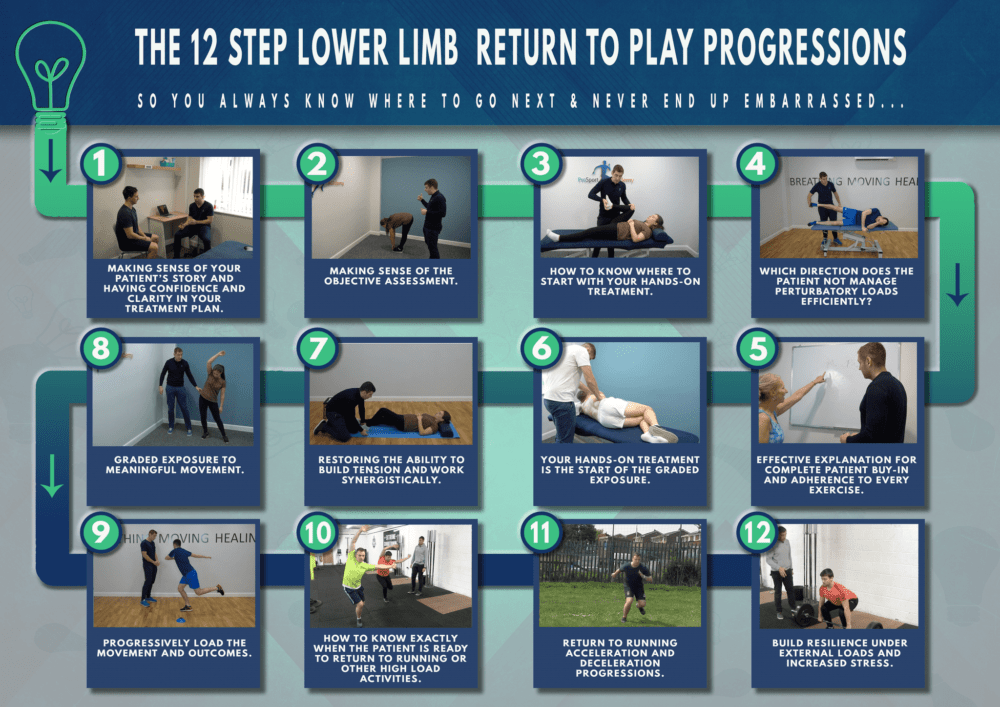
The Benefit Of Having A Structured Step By Step System
The beauty of this step by step process is that every step builds and adds foundation to the previous level so, by the time you reach the final stage, you have the utmost confidence that the patient is ready to return to their environment.
So let’s get started…
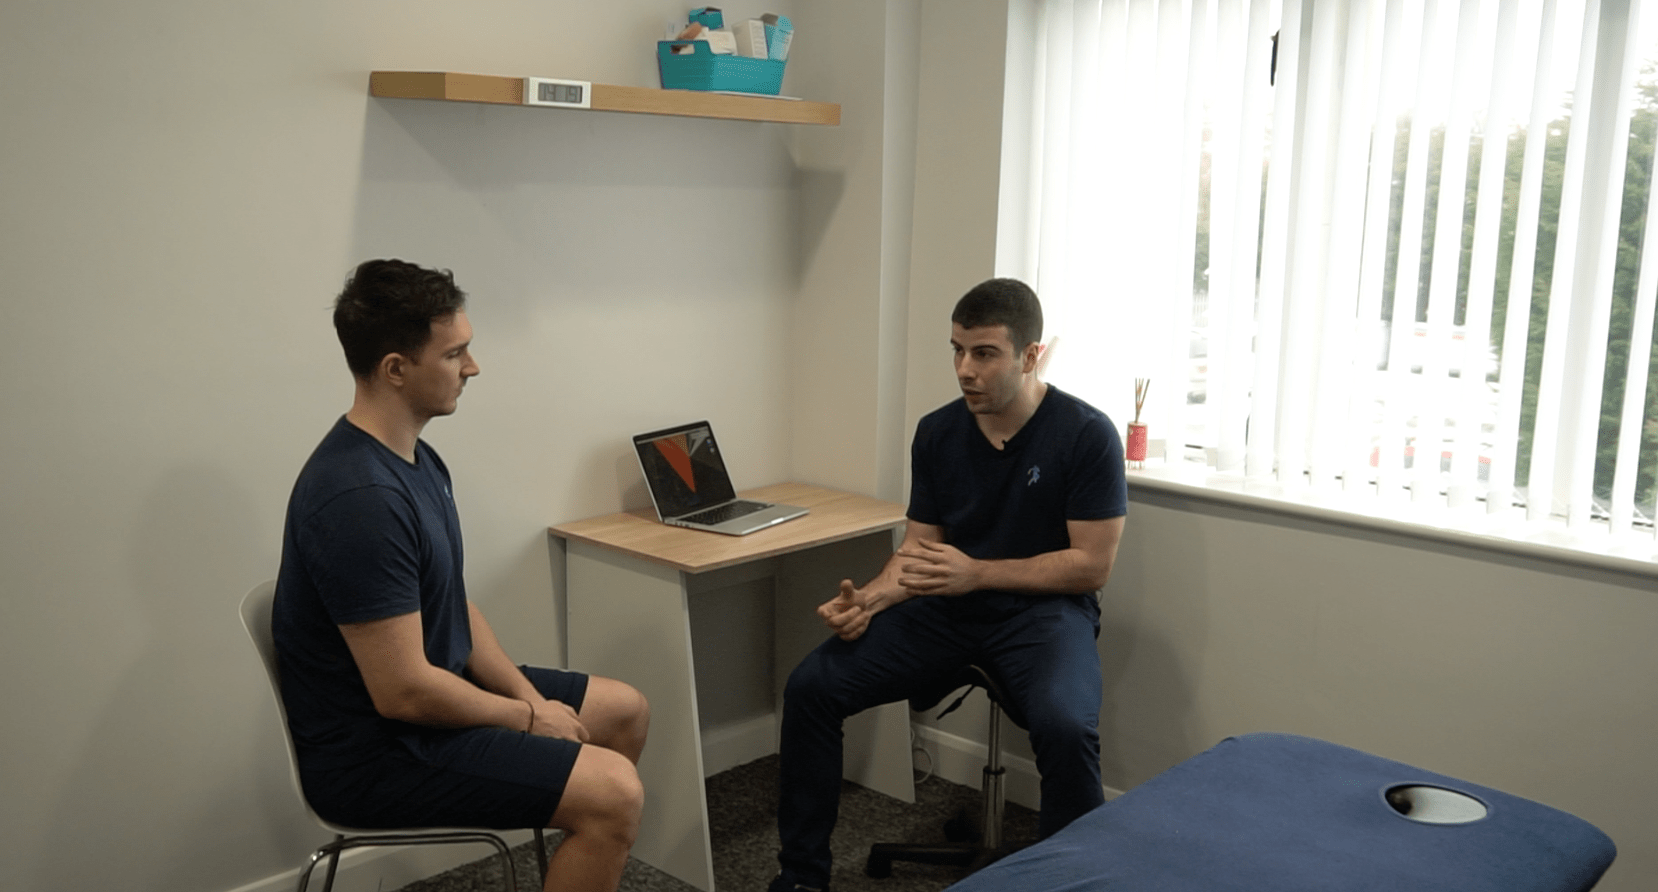
Step 1: Truly Making Sense Of Your Patient’s Story
There will ALWAYS be a reason for someone’s pain or trauma to a tissue such as a hamstring tear. And, from my experience with non-traumatic injuries, it is NEVER ‘just because the tissue was weak.’ Ultimately it was the tissues capacity to tolerate load that was exceeded that eventually led to this trauma…
BUT WHY?
it is your job as a therapist to make sense of the story and find the ‘true stressors’ to what caused that tissues to exceed their capacity in the first place. The answer will always lie in the story and can be found from a combination of the following three stressors:
- Physical Stressors
- Emotional Stressors
- Lifestyle Stressors
If you can make sense of the story and start to build a working hypothesis, then this not only allows you to make sense of the objective assessment in the following steps but also will enable you to identify potential tripwires that may be overlooked further down the line that would contribute to setbacks or ‘flare-ups’.
Step 2: Making Sense Of The Objective Assessment
Now that you have an understanding and a potential working hypothesis of the numerous factors contributing to this painful experience, it is time to narrow down which peripheral tissues may be contributing to the pain experience, if any. either directly or indirectly via motor adaptations from previous injuries, or as a reaction to stress in general.
The part of the movement that the pain experience occurs can give you clues as to what peripheral tissues may be contributing to the pain experience at this moment or more importantly what tissues ARE NOT contributing towards the movement efficiently which may result in other tissues having to absorb the movement errors synergistically. For example, back pain at the start of a toe touch movement (may be lack of ribcage depression due to the diaphragms inability to lengthen efficiently) and pain coming on at the end of the movement (lack of glute max contribution) would guide you in completely different directions to which peripheral tissues are not contributing enough.
At this point of the assessment, you are still only hypothesising which tissues may be contributing to the movement inefficiency that is ultimately resulting in a pain experience for the person.
Step 3: Investigating The Adaptations Laid Down By The Nervous System Further
So you now have an idea of some peripheral tissues that are contributing to the pain experience that would make sense from the subjective story also…
You can now use selective tension and various positions to identify some protective responses within the individual physiological joint ranges of motion.
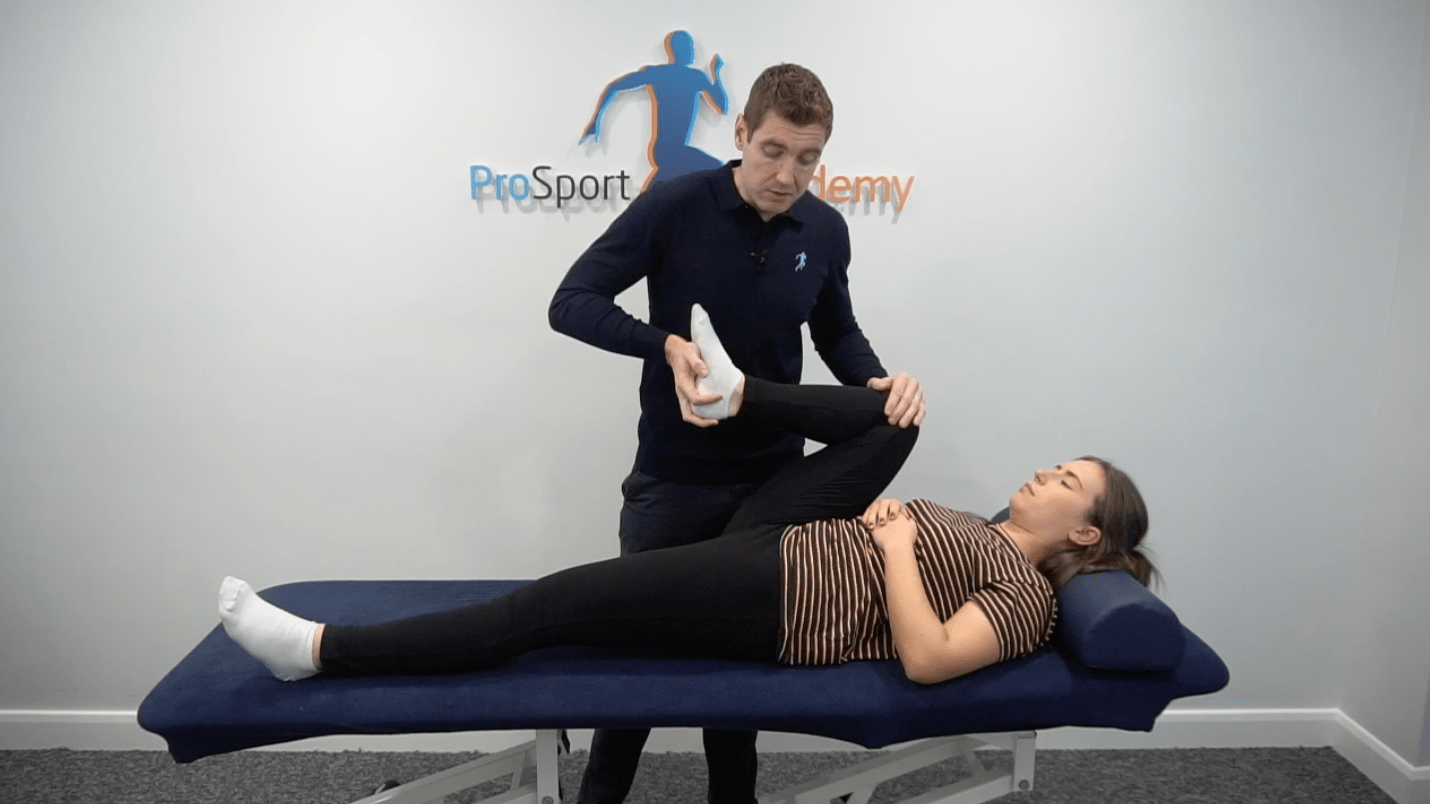
For example restricted hip internal rotation in supine but not prone would clinically reason you to influence particular tissue with your treatment but other tissues if supine was ok, but prone was restricted.
***IMPORTANT*** At this point of the assessment you are zoning in on particular tissues to influence positively with your hands on treatment rather than just throwing an elbow in the glutes or ‘QL’ and ‘hoping for the best’ type approach.
You have a working hypothesis that some tissues may not be absorbing load efficiently +/- related to adaptations to previous injuries or indirectly via a sensitised respiratory system and are now linking the generic movement observation in step 2 with this information to further strengthen your working hypothesis.
Step 4: Which Directions Of Does The Patient Not Manage Perturbatory Loads Efficiency
I was getting some very good results just using steps 1-3 as my assessment initially. It was only when the patient’s pain was coming back a few hours or days later that I realised I was missing a step in my system.
Steps 2 and 3 tells you the tissues that have RESPONDED to some perceived threat from the nervous system, but it does not tell you WHY.
An understanding of the physiological response of muscles to perturbatory loads will give you massive clues of the muscles contractile components ability to generate torque to the task at hand and send that force to the tendon at a certain direction to be absorbed and continue to pass through the body where its inability may cause other tissues to be working excessively to absorb movement errors.
An inability to bring an efficient movement strategy to the task may potentially be due to a perceived threat of tolerating load in this direction. This will usually be due to a previous injury or adaptation of tissues due to the stressor found in step 1.
Step 5: Your Hands On Treatment Is The Start Of The Graded Exposure
You are now ready to start the treatment plan and will first communicate your findings along with a clear step by step solution of what needs to be done so they have complete reassurance and clarity of the next steps.
You will have 1-2 peripheral tissues from steps 2 and 3 to ‘desensitise’ and reassure the nervous system it is safe for these tissues to absorb load again while indirectly restoring the physiological joint range of motion.
You will place a load on the tissues in the direction identified from step 4 and use movement and other specific techniques to ensure the patient’s autonomic nervous system is in ‘rest and digest’ at all times.
This loading locally of the tissues is the starting point of the graded exposure in restoring the ability to tolerate load in this particular direction identified. This will then be progressed straight away with step 6, which is the next step in the graded exposure program.
Please note it will not be unusual to have to desensitise tissues on the symptomatic limb but need to focus your rehab on the opposite limb (as a result of a previous injury still displaying motor adaptations to a previous injury).
Step 6: Restoring The Ability To Build Tension And Work Synergistically
You now want to further expose these tissues to absorbing force and dealing with it effectively in partnership with its muscle synergies.
The use of an isometric type exercise is the next logical progression, giving the tissues an opportunity to overcome muscle slack while also potentially undoing any inefficient fascicle length changes within the local tissues.
But most importantly, restoring the nervous systems ability to generate a force along these tissues, dampen it with the tendons and spread throughout the body more efficiently. You will continue to ensure the person is in ‘rest and digest’ while restoring the ability to generate tension at submaximal levels. These exercises are not maximal force production isometrics but rather a submaximal and gradual build in tension which will bring the patient’s conscious awareness back to these body parts.
The loading of these tissues HOWEVER is in the direction that you have identified from step 4 and is the next natural progression of loading from step 5.
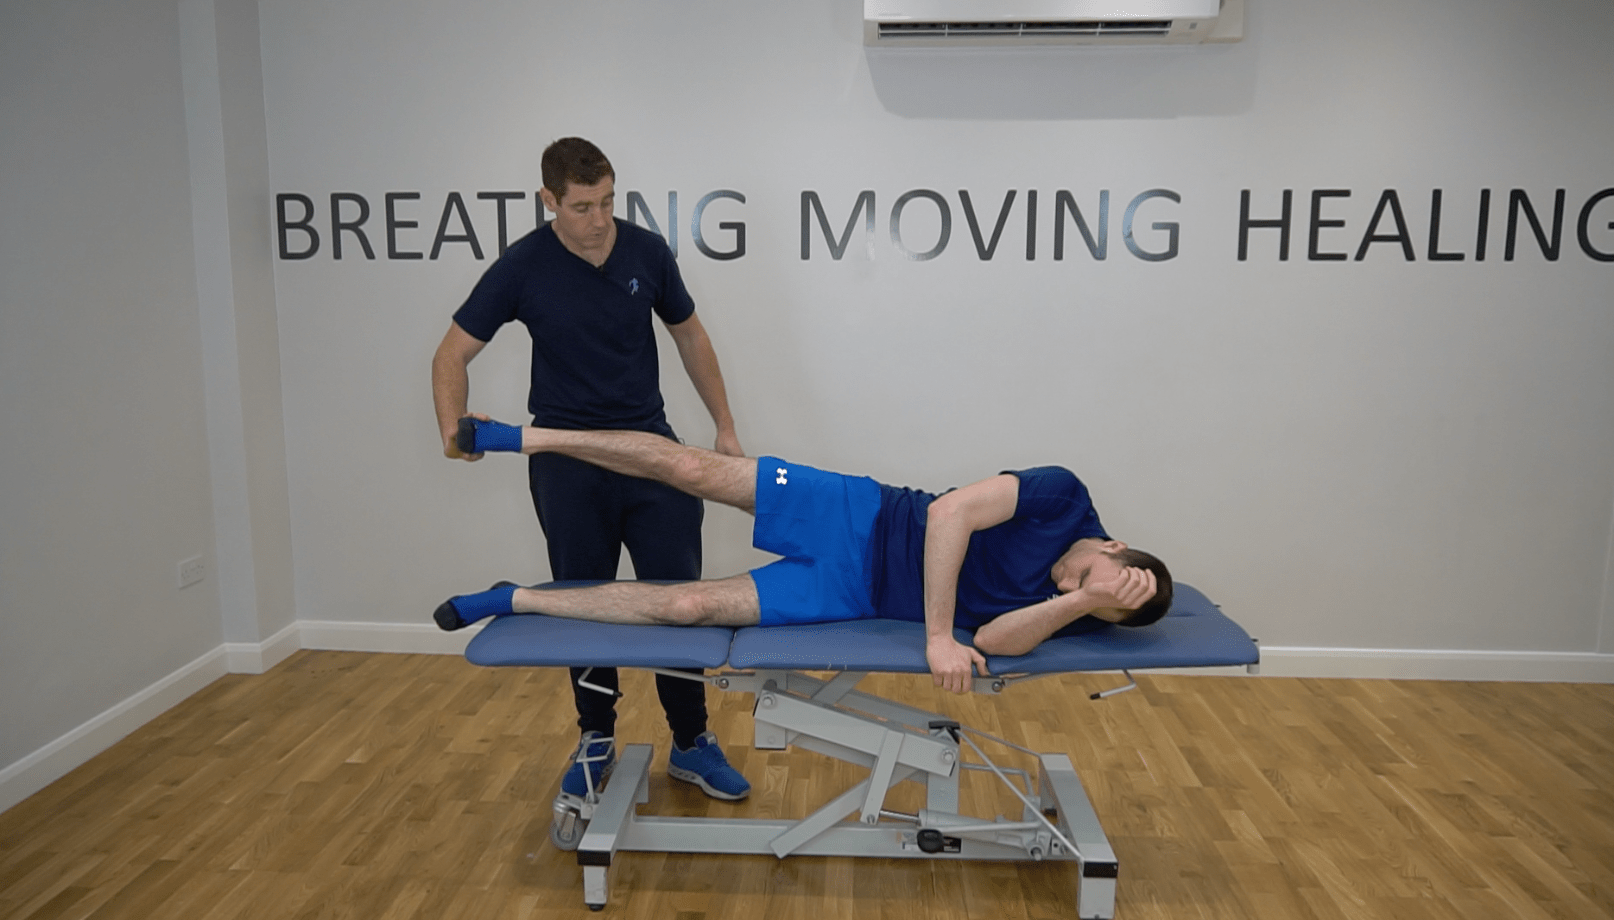
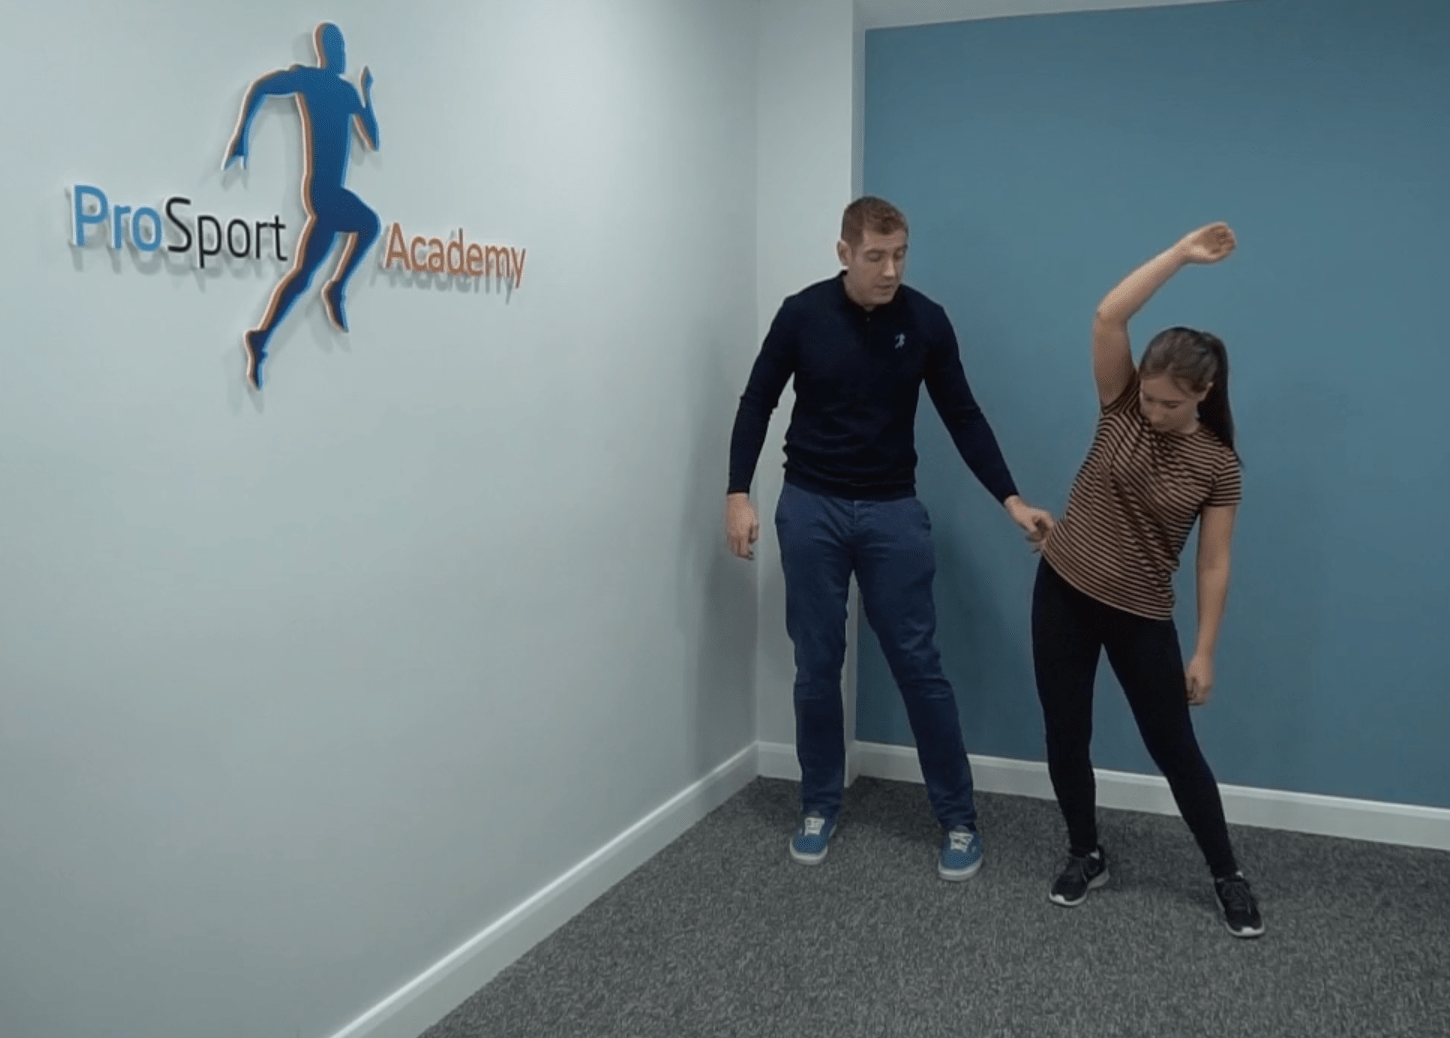
Here are two different isometric exercises for the lateral hip, where one would be targeting the hip in the frontal plane while the other would be targeting the transverse plane, dependent on the assessment findings.
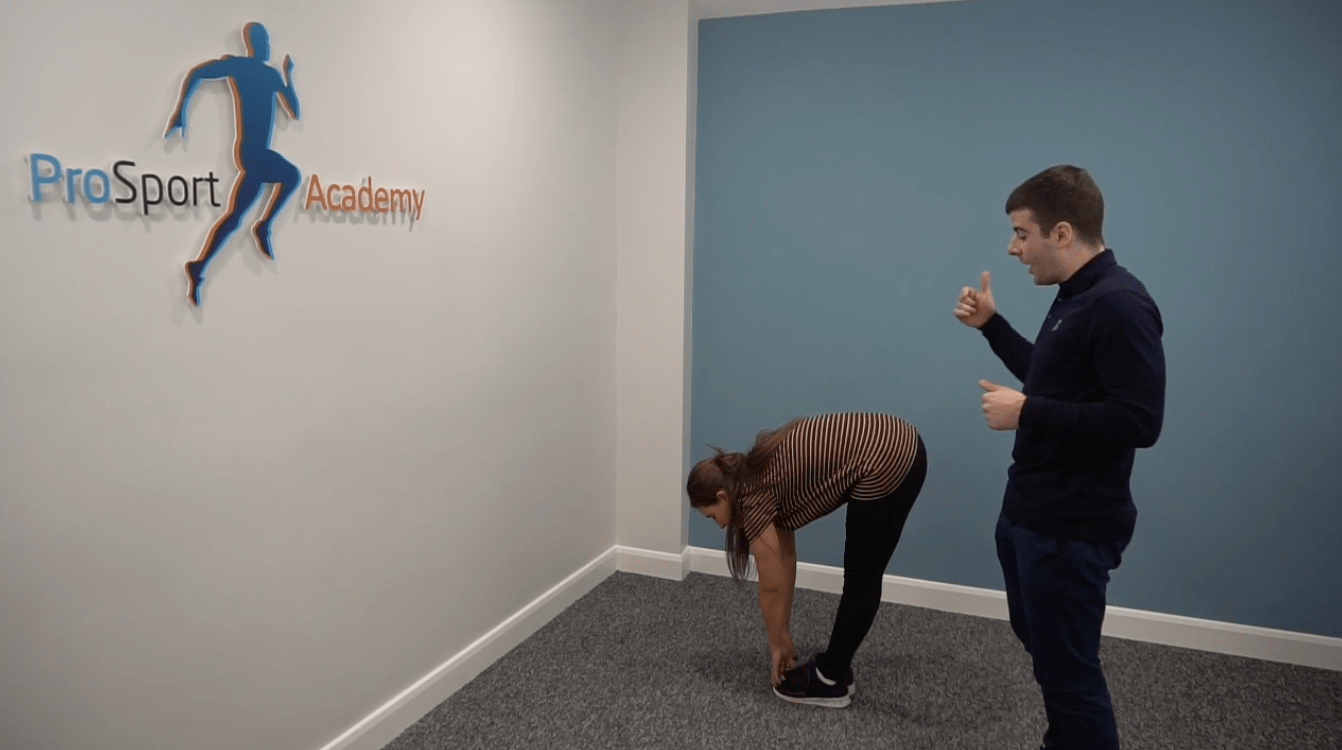
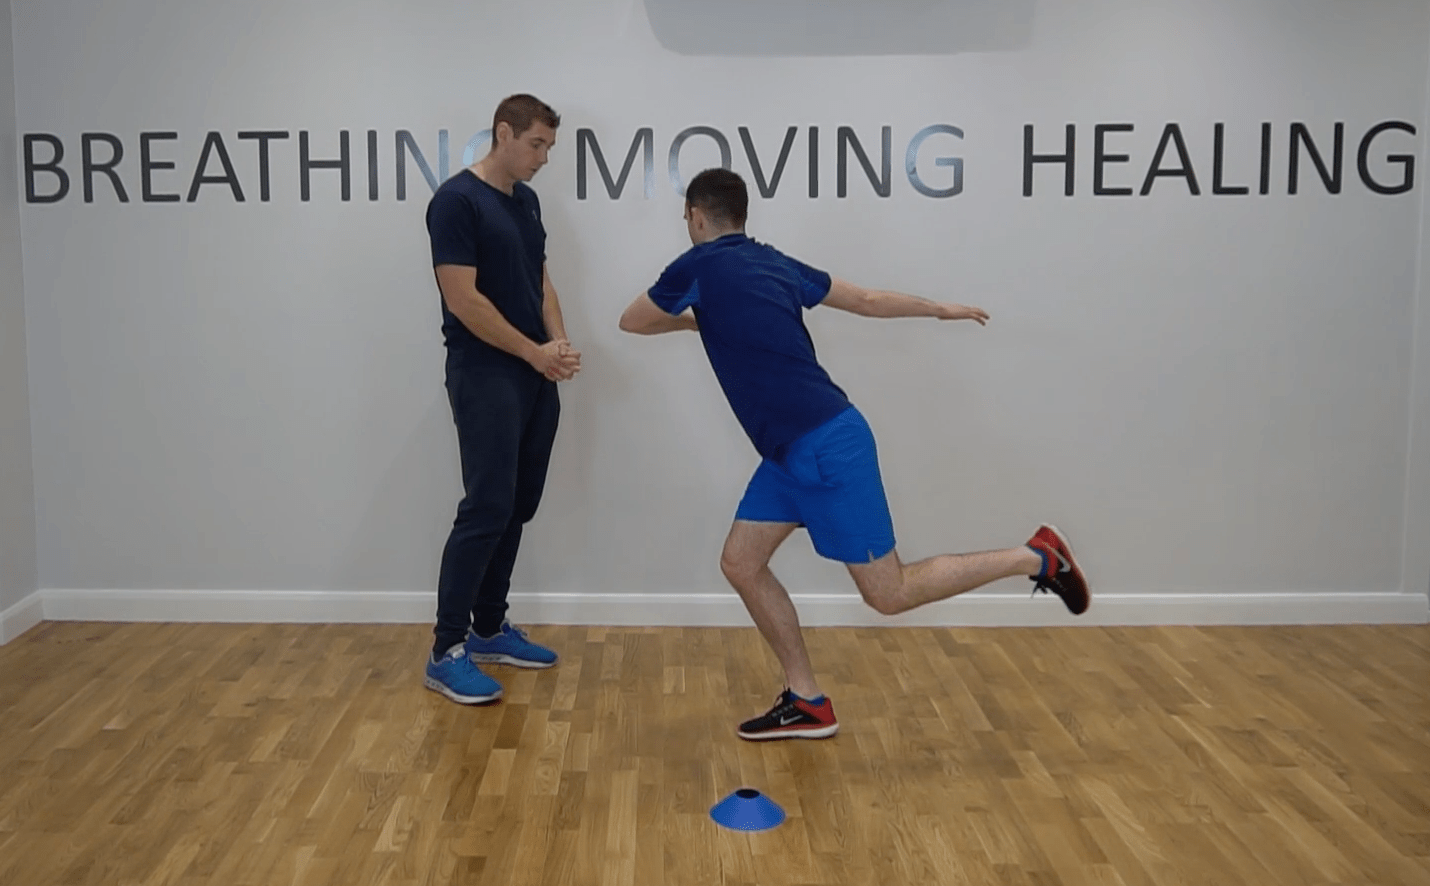
Step 7: Graded Exposure To Meaningful Movements
The next step is to now get the patient on their feet and move in meaningful ways that is specific to their situation, as identified in step 1. You will only focus on the outcome of the task rather than specific internal cues, to replicate how movement tasks are executed in the real world.
You will challenge their base of support subconsciously to provide the body with the ability to self-organize on numerous levels.
In the example below, the reach of the left hand is now driving the pelvis outside the base of support which will cause preflexive, reflexive and pre-programmed like reactions at the local tissues while also showing the nervous system it is safe to load the lateral hip tissues with greater loads placed upon the body.

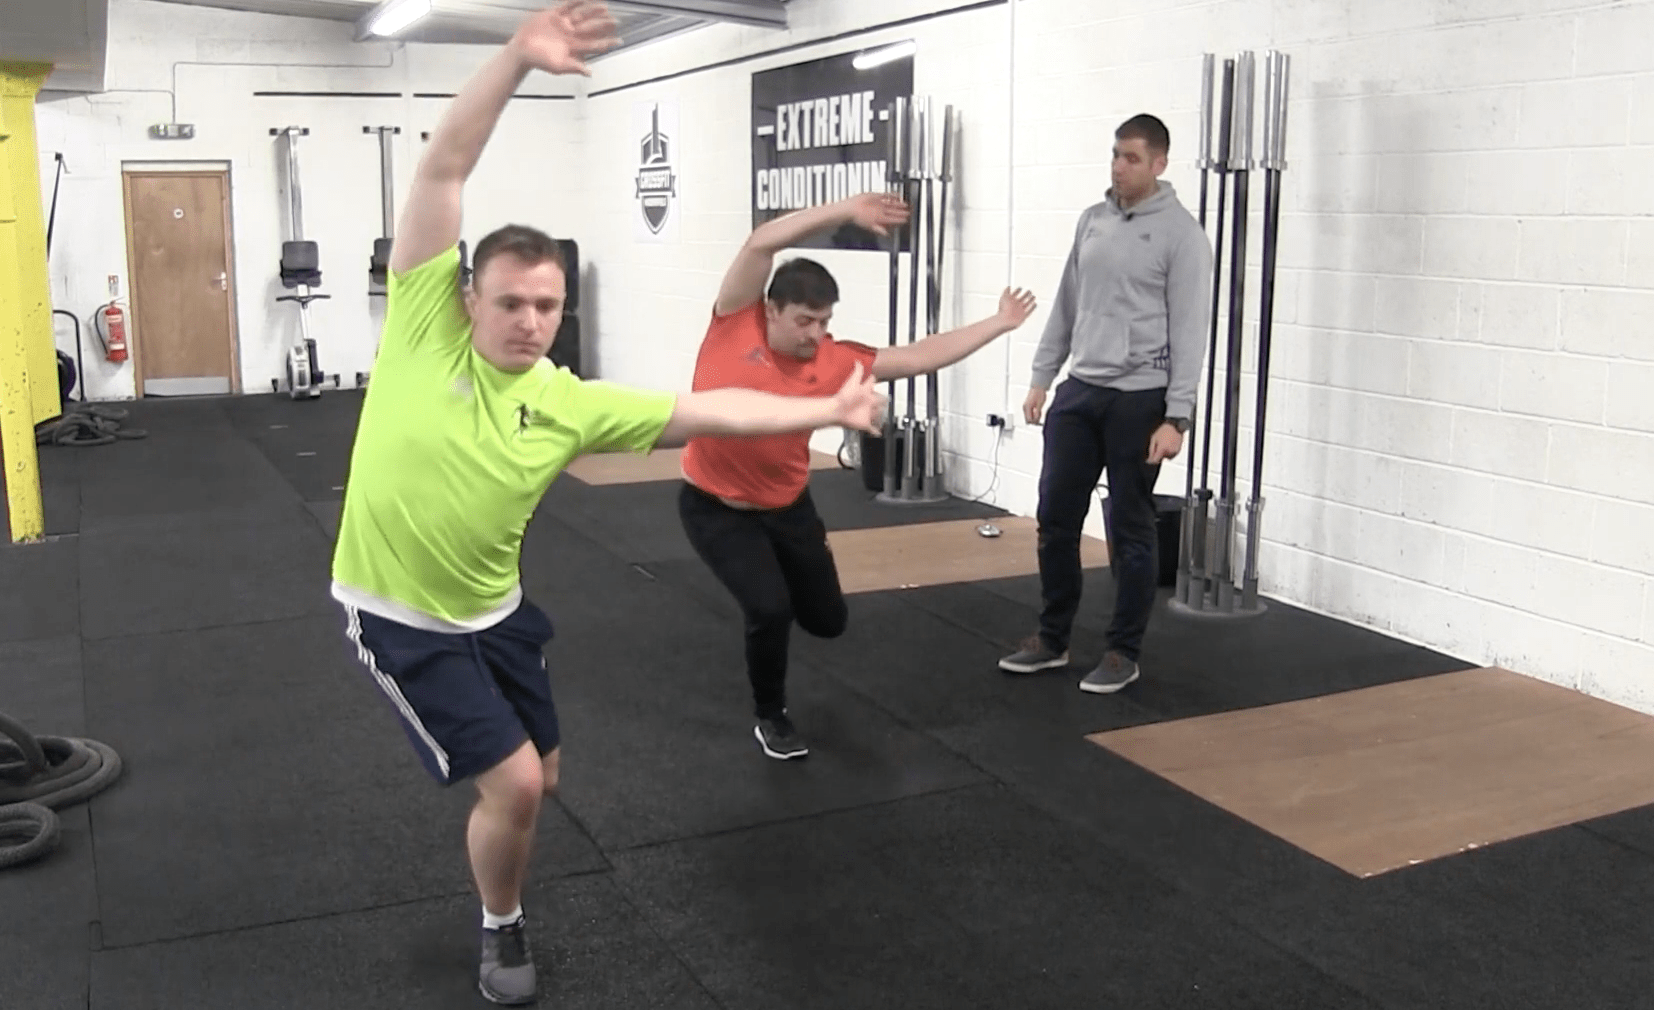
APPLIED EXAMPLE: In the 2017 Rugby League World Cup, I was using the movement on the left with an MCL injury in week one where I wanted to load the injured tissues a little, but the majority of force was absorbed through the lateral tissues. In the following week when I wanted to increase load through the MCL tissues to decrease perceived threats and force the medial hamstrings to absorb load, I used the movement on the right with the patient.
This is also the start of your patient’s graded exposure to change of direction so you will not run into setbacks at higher loads as these tissues are tolerating loads in a step by step progressive manner.
Step 8: Progressively Load The Movement And Outcomes
At this point in the rehab, the patient will usually be feeling pretty good and asking when they can run again for example. The problem is, you have absolutely NO IDEA if they can tolerate higher ground reaction forces, especially in the directions you’ve identified in step 4 YET…
The big question is; Will the patient be able to tolerate higher loads through these directions OR go back to old movement habits and load excessively in the areas where the symptoms were first experienced, or even other directions even?
To avoid guessing, step 8 progressively loads the tissues in the directions identified and increases the demands on the patient’s nervous system by the end of these progressions you have not doubt that the patient is ready to run.
These progressions will just be the next logical progression from step 7. You will be watching the patient’s reactions closely to see if he/she is ready to progress further or need to regress. If they are ok with these loads, then it is time to progress to step 9.
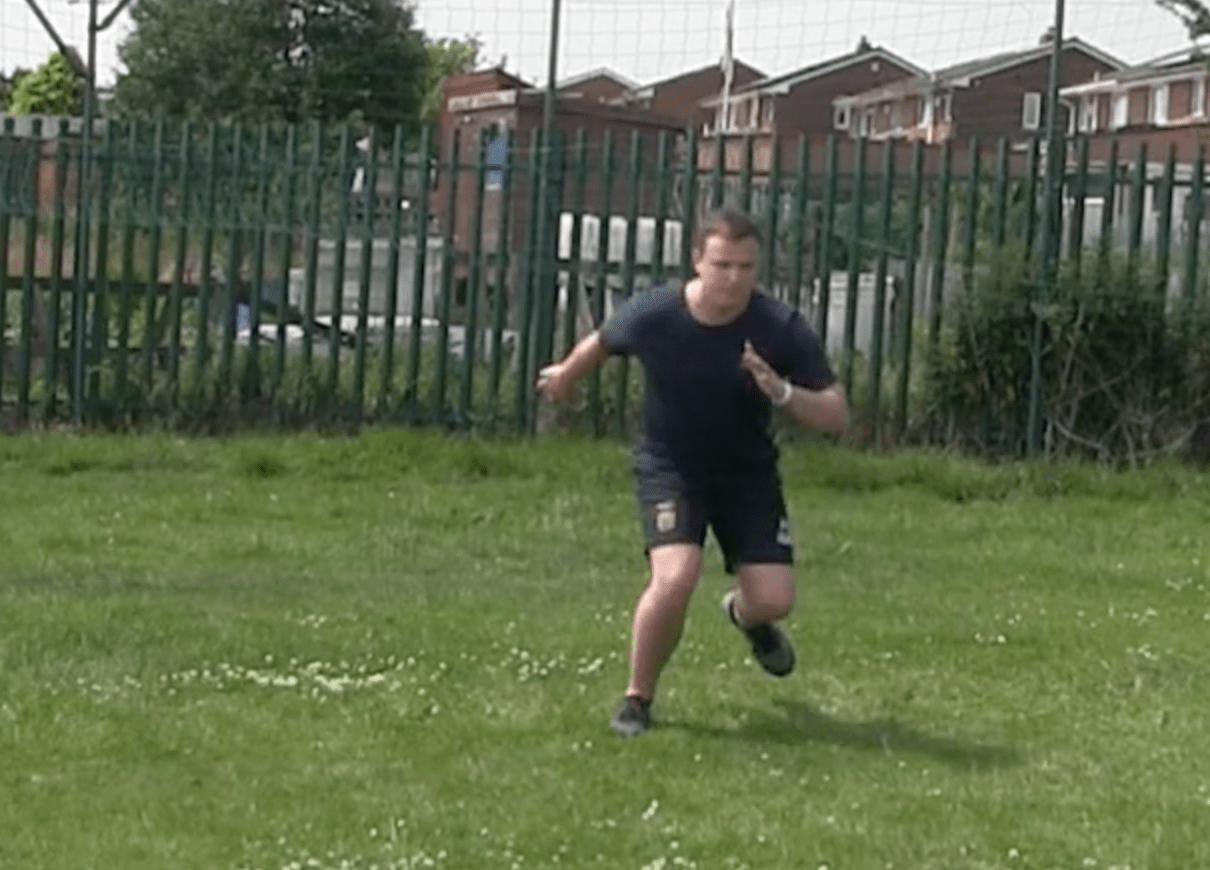
Step 9: Supramaximal Load In The Direction Of Force Identified
To have complete confidence that the patient is ready to return running for example, you now need to make sure that they can tolerate even higher levels of ground reaction forces at faster velocities through these directions. You do this by going through a specific step by step set of hopping progressions.
We use the same principles from steps 7 and 8 to allow the patient to self-organize. As you can see here the pelvis will again need to travel laterally, and the lateral hip tissues will be forced to decelerate the bodyweight at greater velocities and higher ground reaction forces.
If your patient manges the other progressive loading hopping progressions and there are no adverse reactions from the nervous system (such as reduced motor outputs upon retesting, reduced range of motion, swelling etc), then you are very confident at this point the patient is ready to return running.
***Please note you are clinically reasoning at every stage and not simply ‘hoping the patient will be ok’. This is a dangerous approach and an approach that got me caught out earlier in my career with embarrassing consequences.***
Step 10: Return To Running Acceleration And Deceleration Progressions
From here, step 10 is very straightforward if we have progressed the athlete appropriately to date. The return to running progressions is essentially the same increased exposure to load.
You will use a running protocol of increasing intensity over the course of 3+ sessions. The directions of force will also be challenged in the frontal and transverse planes too, and again you can use the same strategies here also to continue to bias directions of force if needed.
Step 11: Build resilience under external loads and increased stress
The final step is to THEN utilize the ability to generate tension in these muscles and build strength. In this stage, you will ensure your patient can tolerate the load and still move with good movement variability.
We can still achieve a task of heavy deadlifting but the adductor magnus, for example, may be creating additional torque if the lateral hip tissues are still not proficient and perceived as a threat to experiencing more load.
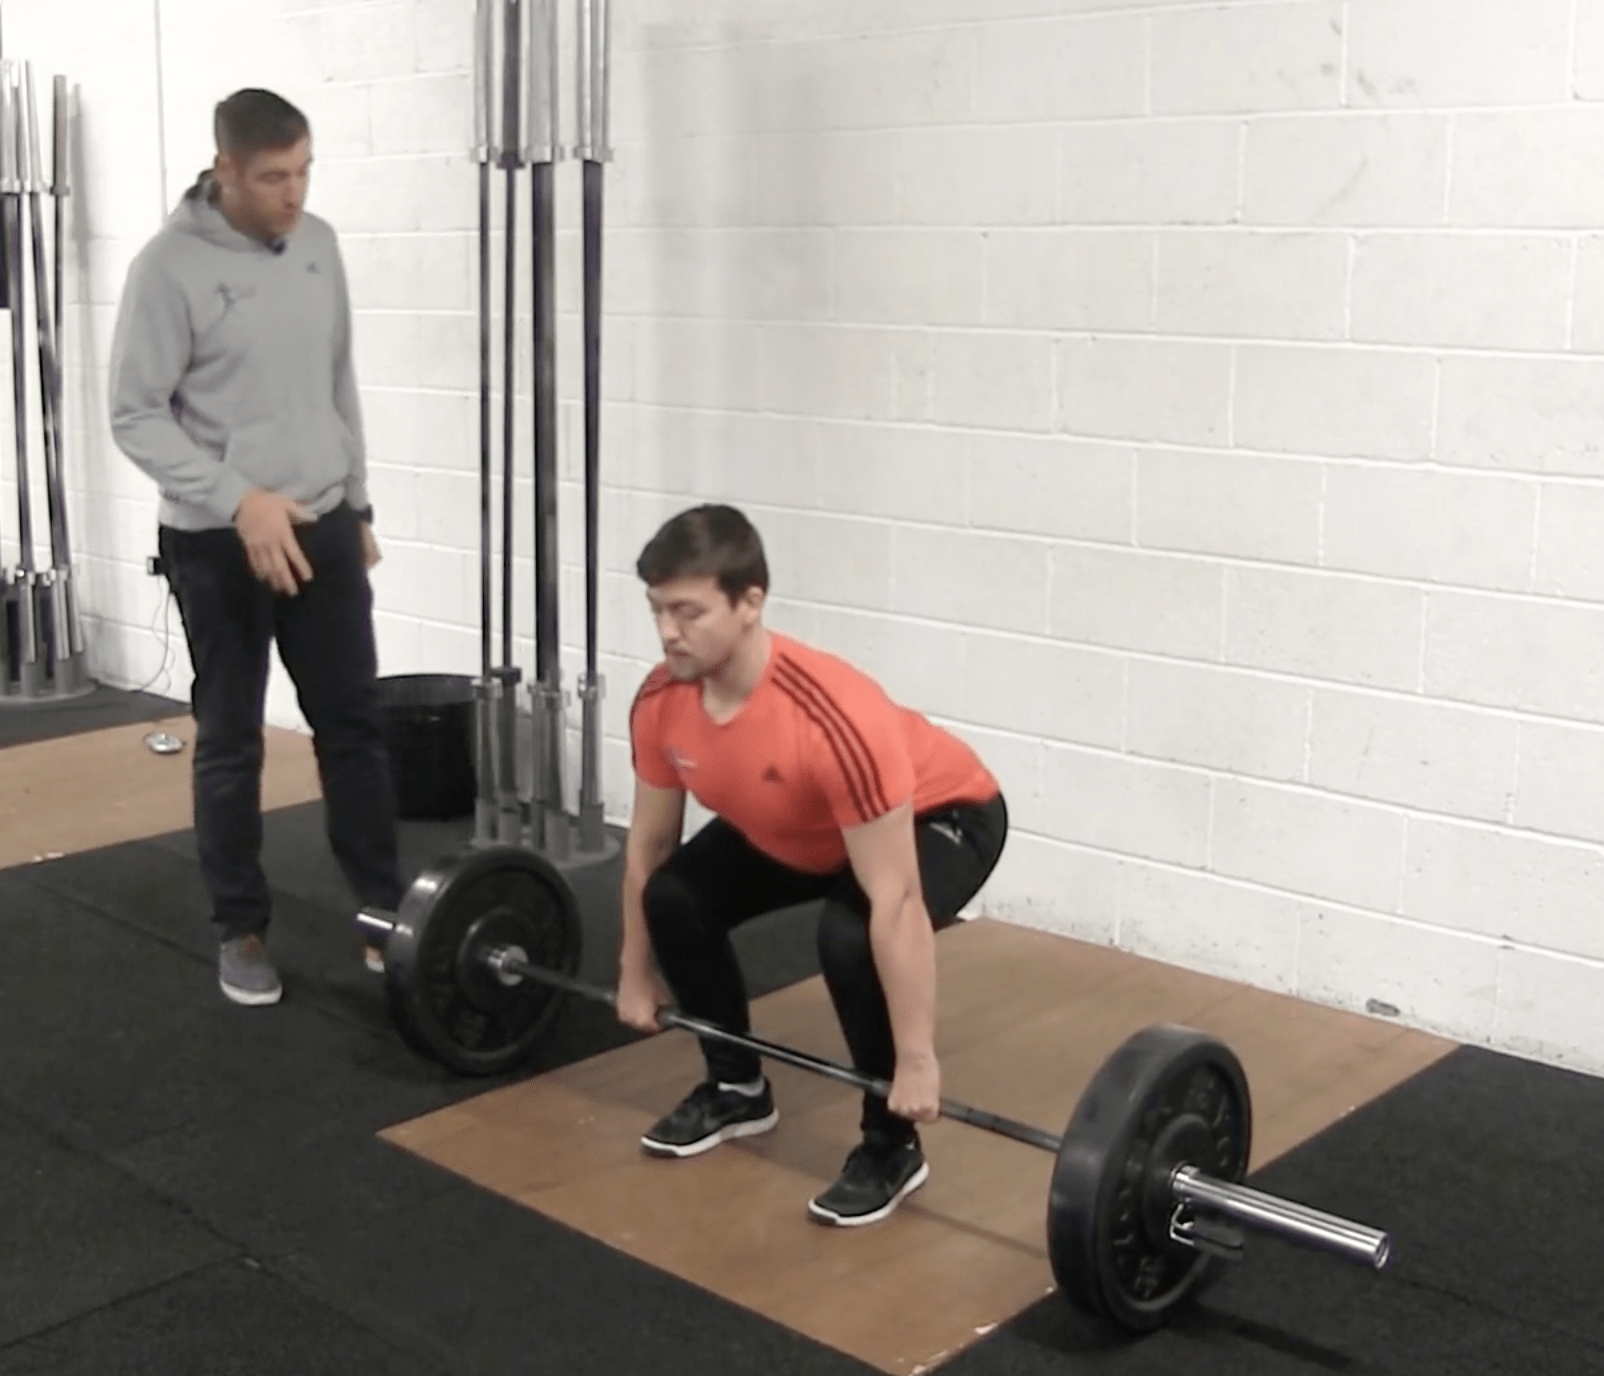
So, you earn the right to be at this stage and now get the athlete even stronger when he/she has plenty of movement options.
You will also ensure the patient can get out of sympathetic dominance and back into parasympathetic ‘rest and digest’ after stressful situations or training. This ability would especially be important for those patients with persistent back pain before going to sleep to ensure they are actually in ‘rest and digest’ before sleeping.
And that is the complete step by step system I’ve been using successfully over the last 6+ years with athletes who come to me who have on paper done everything ‘right’ and have been under the care of some top class physios but who may just have skipped a step or two in their plan and not addressed the true direction forces that was causing the reactions to happen elsewhere in the body.
WHAT TO DO NEXT?
At this point in the guide, your head is probably spinning…
My suggestion is to take your list of weaknesses from each of the steps or rate each level and how confident you are out of 10 and ensure it’s on a spreadsheet.
From there, ensure that you are focusing on the most critical changes inside of your system that will stop the cracks or weakest links in your own approach.
For example, if your weakest steps are step 6, 7 and 8, and your patients pain comes back again, will spending money on another hands on technique course solve this problem?
Getting that structured step by step system isn’t difficult, but no one said it was easy.
If you’re in the ‘achieving some good results with some patients but the pain is returning a few days later with others’, and you want to get to those consistently great results that allow you the clarity to progress your patient in each session – to get that meaningful outcome for them – the fastest way to do that is to learn from those who have done it before and are two or three steps ahead of you.
If you’d like to learn more in-depth about each step of my return to play system then please pick up a copy of my ‘Go-To’ Physio book here or if your ready to really accelerate your learning and want help to develop your own step by step system then my Therapist Mentorship Programme may be of interest to you here.
Get Your FREE Copy Of The Amazon #1 Bestseller That Holds The Secret To Confidently Treating Any Patient!
Download a Free ‘ebook’ copy of the 8-Step ‘World Cup’ Treatment Plan that helped my private patients achieve full recovery and made me a ‘go-to’ physio for complex cases…
Get Your FREE Copy Of The Amazon #1 Bestseller That Holds The Secret To Confidently Treating Any Patient!